| Exercise 3 | Daily Database Updates: Sharing and Scheduling |
| Data | Firehalls (GML) Neighborhoods (KML) |
| Overall Goal | Create a workspace to read and process departmental data and publish it to FME Server |
| Demonstrates | Sharing and scheduling a translation in FME Server |
| Start Workspace | None |
| End Workspace | None |
For the exercises in this chapter, you are a technical analyst in the GIS department of your local city. You have plenty of experience using FME Desktop, and your department is now investigating FME Server to evaluate its capabilities.
There are many departments within the city, and one of your tasks is to take the data from each department and merge it together into a single, corporate database.
Because each department produces their datasets in a different format and style, you use FME for this task, and carry it out on a weekly basis.
You have already (Exercises 1 and 2) created a workspace to carry out this translation, published it to FME Server, and ran it to confirm it works.
As a daily task, you plan to run the translation every day after work. However... what happens if you are not there, or leave early, or someone else stays late. Who will run it then?
Firstly you should ensure other users have access to the workspace to run it, but you can also set it up to run on an automatic schedule.
1) Connect to Server
Browse to the log in page of the FME Server interface, either starting it through the Web Interface option on the start menu or by logging out if you are already logged in.
This time log in using the generic user account that is a default account on any FME Server installation. The username is user and the password is user as well!
The first thing you'll notice is that the menu and functionality is much more restricted for this account:
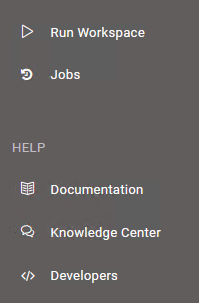
In fact, if you try to run a workspace you'll find that the only repository this account has access to is the Samples repository; not Training where the existing workspace resides.
2) Share Repository
Log out of the user account and log back in as an administrator (admin/admin).
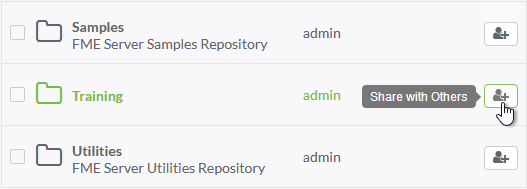
Now you have the full set of menu entries, click Repositories on the menu. Under the list of repositories locate the Training repository. Click the Share icon to the right:
In the Sharing Options dialog, select fmeuser as the role to share with, and allow them to run the workspace:
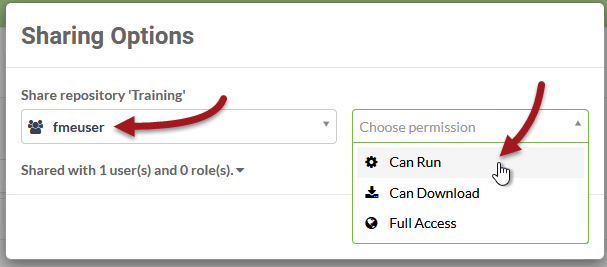
By selecting the fmeuser role (rather than the single user account) we allow anyone who is tagged as a user to access the workspace; and by allowing them run capability only, we prevent them downloading and making edits to our workspace.
3) Check Sharing
Log out of the administrator account and log back into FME Server with the user account (user/user).
This time you should have access to the Training repository and be able to run the workspace successfully as a general user. Check the Jobs page and you'll see one entry for the workspace, when it was run as the user. There is only one entry because the user does not have the privileges required to view any other users' jobs.
Log out again and log back in as an administrator. Now in the Jobs window you should be able to see both the administrator's jobs and the user's jobs:
That's because the administrator group does have permission to view all jobs.
4) Create Test Schedule
Now we've allowed other users to run the workspace on demand, but we should also set up the translation to run on a schedule.
Firstly, just to confirm that scheduling does work, let's set up a test schedule. Click Schedules on the menu and in the Schedules window click the New button to start the process.
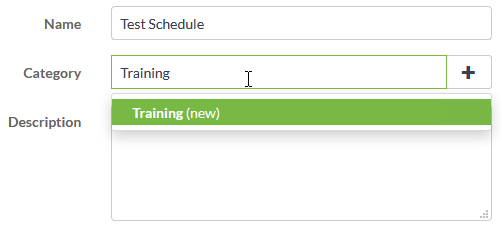
Set a name of Test Schedule and add it to a Training category by typing Training into the Category field:
For the time settings, set the schedule to start immediately and run every 30 seconds. Set the end date to be approximately 30 minutes into the future (that way if we forget to cancel the schedule it won't carry on for ever!)
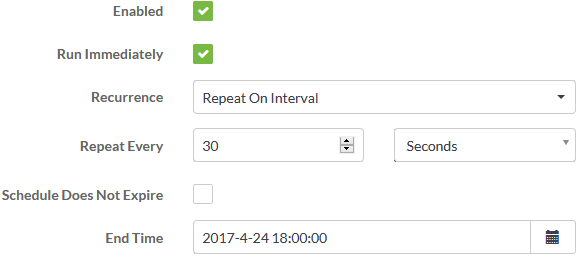
Be aware that the times are given in 24-hour format, so 1:30 means AM and 13:30 means PM. It is also important to note that this time is the local time of the machine FME Server is installed to.
Under Workspace Settings, select the Training repository and within that the workspace previously uploaded (Basics-Ex1-Complete.fmw):

There are no user parameters we need to change for this workspace, so any can be ignored.
Now click OK to add the new schedule.
5) Examine Jobs Page
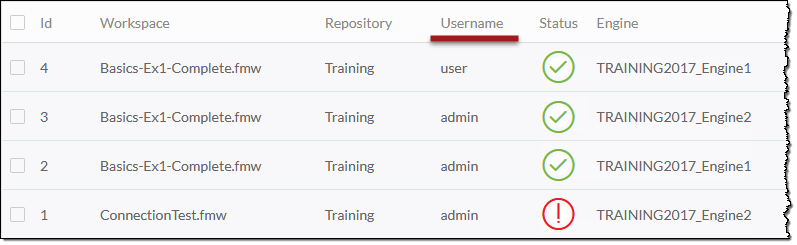
Open the Jobs page. A list of previously run jobs will open. You will find (if it was set up correctly) that there will be jobs running to schedule:

Notice that the username is set to admin; since that is the user who created the schedule, that is the username under which the job will be run.
6) Create Actual Schedule
Now we are confident that we know how to use the interface, let's set up an actual schedule. We want the workspace to run, say, every day of the week. There should also be no end date.
So, return to the Schedules page. You may now either:
- Click on the Test schedule and edit it to the required values
- Delete the test schedule and create a new one with the required values

This setup will run the workspace at 8:00pm every day. Don't forget to click the OK button!
You may wish to check back periodically during this training to ensure the workspace runs as expected.
| CONGRATULATIONS |
By completing this exercise you have learned how to:
|