| Exercise 3 | Configuring FME Server for HTTPS |
| Data | C:\FMEData2018\Resources\ServerAdmin\server.xml C:\FMEData2018\Resources\ServerAdmin\web.xml C:\FMEData2018\Resources\ServerAdmin\context.xml |
| Overall Goal | Change access to the FME Server web interface to HTTPS |
| Demonstrates | Creating a self-signed certificate and importing into the FME Server keystore |
Your company is rapidly expanding and hiring many new employees. Now, instead of having everyone able to access to FME Server, you have set up logins so only trusted personnel have access. You also want to set up extra precautions to keep the transferred information secure.
HTTPS ensures that communication between the client and the server is encrypted, so that if it is intercepted, the third party cannot easily view or use the information. For FME Server, you can use HTTPS to ensure that sensitive login information is not exposed.
For any HTTPS (SSL) page, a certificate is required. For development and testing purposes, self-signed certificates are supported. For production use, we recommend that you use SSL certificates from a verified SSL certificate authority (CA).
1) Create a Keystore File
First, you must generate a keystore that contains a certificate chain using the Java Keytool from the Java Developer Kit (JDK).
Open a Command Prompt as an administrator.
Navigate to the FME Server Java bin directory:
cd C:\Program Files\FMEServer\Utilities\jre\bin\
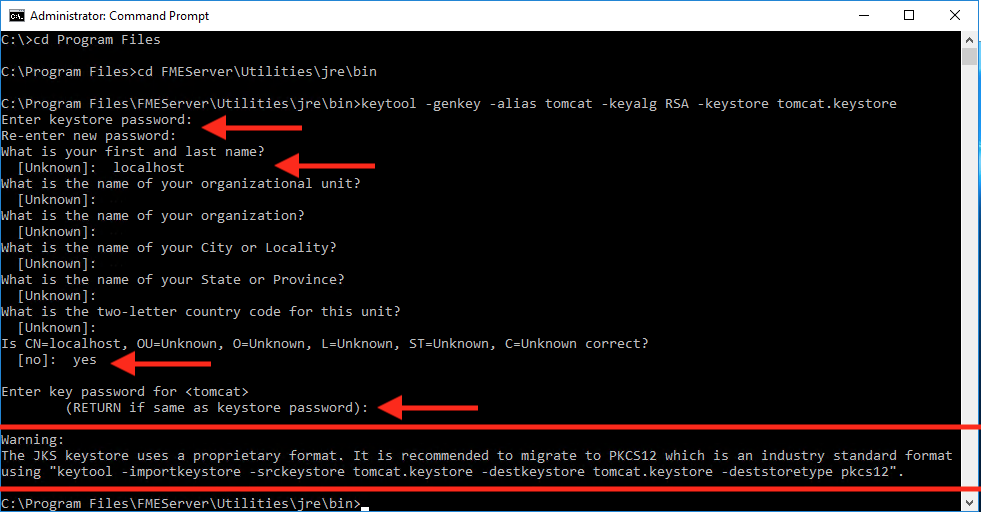
Run the following command to create a new keystore file:
keytool -genkey -alias tomcat -keyalg RSA -keystore tomcat.keystore
Set the following values when prompted:
- Keystore Password: tomcat
- First and Last Name: localhost
- <Remaining Parameters>: <leave_blank>
Enter yes when prompted if the input is correct. When prompted for the key password for <tomcat>, press RETURN.
A new keystore is created in C:\Program Files\FMEServer\Utilities\jre\bin\
Copy the new keystore file to the tomcat directory in the FME Server installation:
copy tomcat.keystore "C:\Program Files\FMEServer\Utilities\tomcat\tomcat.keystore"
| TIP |
|
Ensure the keystore file is COPIED NOT moved.
This is most important when working with a distributed FME Server Core and FME Server Web Application. |
2) Working with the Certificate
The new keystore must be imported into the FME Server keystore for trusted certificates. In the command prompt, enter the following command:
keytool -importkeystore -srckeystore tomcat.keystore -destkeystore "C:\Program Files\FMEServer\Utilities\jre\lib\security\cacerts"
You will be prompted to enter two passwords. One for the destination keystore and one for the source keystore. The password for the destination keystore is changeit. The password for the source keystore is tomcat.

Configuring Tomcat
In the next steps, we need to modify three configuration files of Apache Tomcat. All three files are located in the FME Server installation directory: C:\Program Files\FMEServer\Utilities\tomcat\conf\
It is a good idea to make copies of any files you will be changing and place them in a separate directory until you have verified that the edits are working successfully.
3) Configure server.xml
Open C:\Program Files\FMEServer\Utilities\tomcat\conf\server.xml file in a text editor in administrator mode.
Locate the SSLEngine setting in the <Listener> element, including className="org.apache.catalina.core.AprLifecycleListener" and change the “on” value to “off”.
<Listener className="org.apache.catalina.core.AprLifecycleListener" SSLEngine="off" />
Locate the <Connector> element that contains protocol="org.apache.coyote.http11.Http11NioProtocol" and replace it with the following:
<Connector protocol="org.apache.coyote.http11.Http11NioProtocol"
    port="8443" minSpareThreads="5"
    enableLookups="true" disableUploadTimeout="true"
    acceptCount="100" maxThreads="200"
    scheme="https" secure="true" SSLEnabled="true"
    keystoreFile="C:\Program Files\FMEServer\Utilities\tomcat\tomcat.keystore"
    keystorePass="tomcat"
    clientAuth="false" sslEnabledProtocols="TLSv1,TLSv1.1,TLSv1.2"
    sslImplementationName="org.apache.tomcat.util.net.jsse.JSSEImplementation"
    ciphers="TLS_ECDHE_RSA_WITH_AES_128_CBC_SHA256,TLS_ECDHE_RSA_WITH_AES_128_CBC_SHA,
    TLS_ECDHE_RSA_WITH_AES_256_CBC_SHA384,TLS_ECDHE_RSA_WITH_AES_256_CBC_SHA,
    TLS_RSA_WITH_AES_128_GCM_SHA256,TLS_RSA_WITH_AES_256_GCM_SHA384,
    TLS_RSA_WITH_AES_128_CBC_SHA256,TLS_RSA_WITH_AES_256_CBC_SHA256,
    TLS_RSA_WITH_AES_128_CBC_SHA,TLS_RSA_WITH_AES_256_CBC_SHA,
    SSL_RSA_WITH_3DES_EDE_CBC_SHA"
    URIEncoding="UTF8" />

<Connector port="80" protocol="HTTP/1.1"
    redirectPort="8443"/>
Save and close the server.xml file.
4) Configure web.xml
Open the web.xml file in a text editor in administrator mode.
Add the following code block to the end of the file, just before the closing </web-app> element:
<security-constraint>
    <web-resource-collection>
        <web-resource-name>HTTPSOnly</web-resource-name>
        <url-pattern>/*</url-pattern>
    </web-resource-collection>
    <user-data-constraint>
        <transport-guarantee>CONFIDENTIAL</transport-guarantee>
    </user-data-constraint>
</security-constraint>
Save and close the web.xml file.
5) Configure context.xml
Open the context.xml file in a text editor in administrator mode.
Add the following to the end of the file, just before the closing </context> element:
<Valve className="org.apache.catalina.authenticator.SSLAuthenticator"
    disableProxyCaching="false" />
Save and close the context.xml file.
6) Verify the Configuration
Now that we have made our changes, we want to verify that HTTPS was configured correctly for FME Server.
Restart the FME Server Application service from the Start menu > FME Server 2018.0 > Restart FME Server.
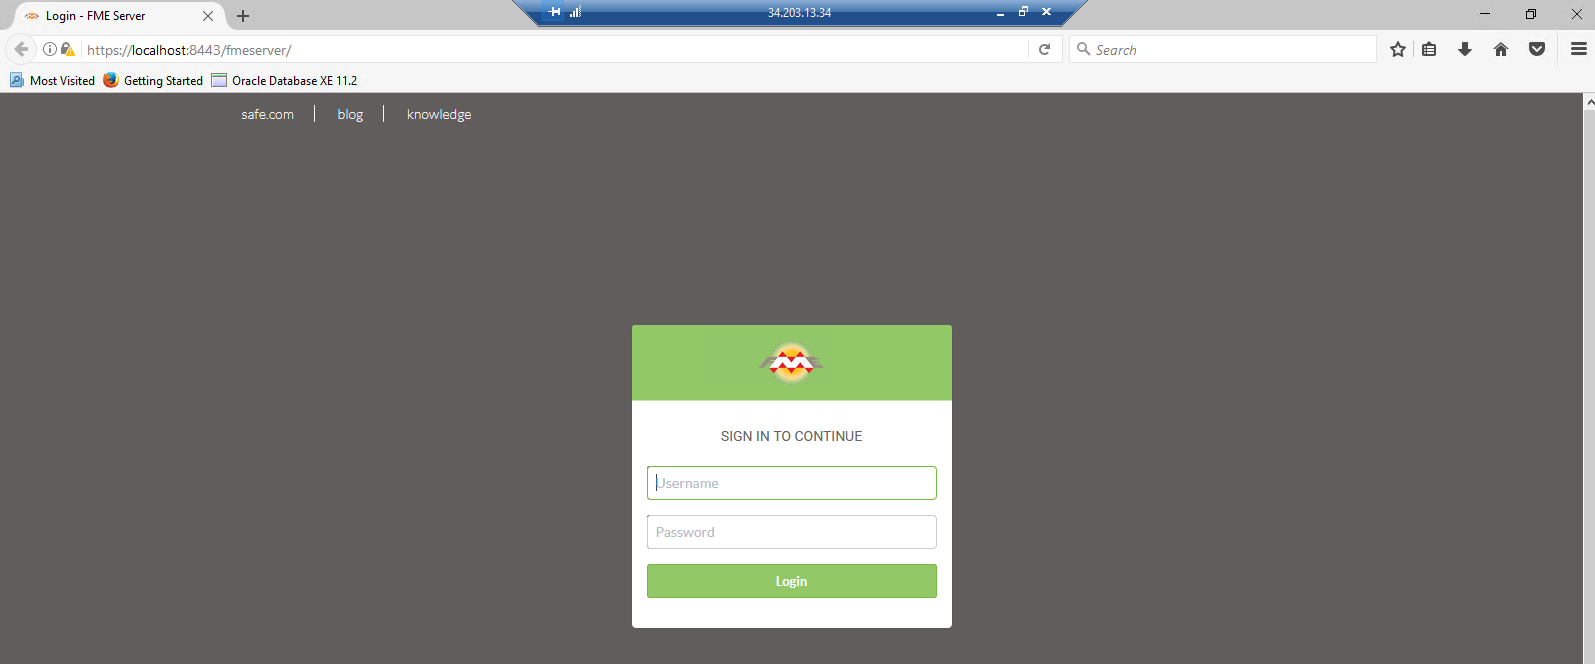
Open a browser and navigate to https://localhost:8443/fmeserver.
You should see the FME Server login page in a secured format.
Note: If a self-signed certificate is used for testing, your browser may report the page as not secure:
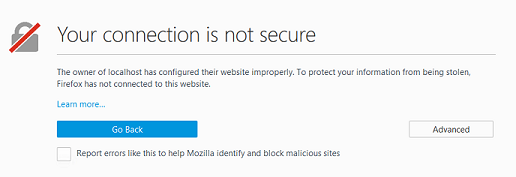
For self-signed certificates, some browsers will allow you to add an exception for https://localhost:8443/.
7) Modify Service URLs to Use HTTPS
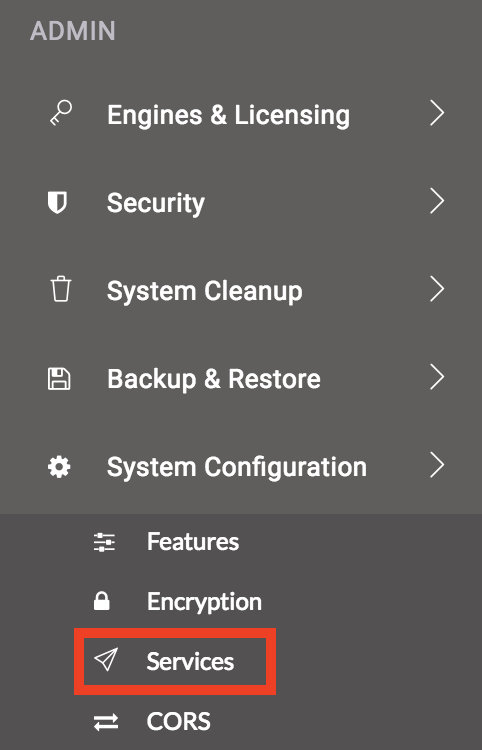
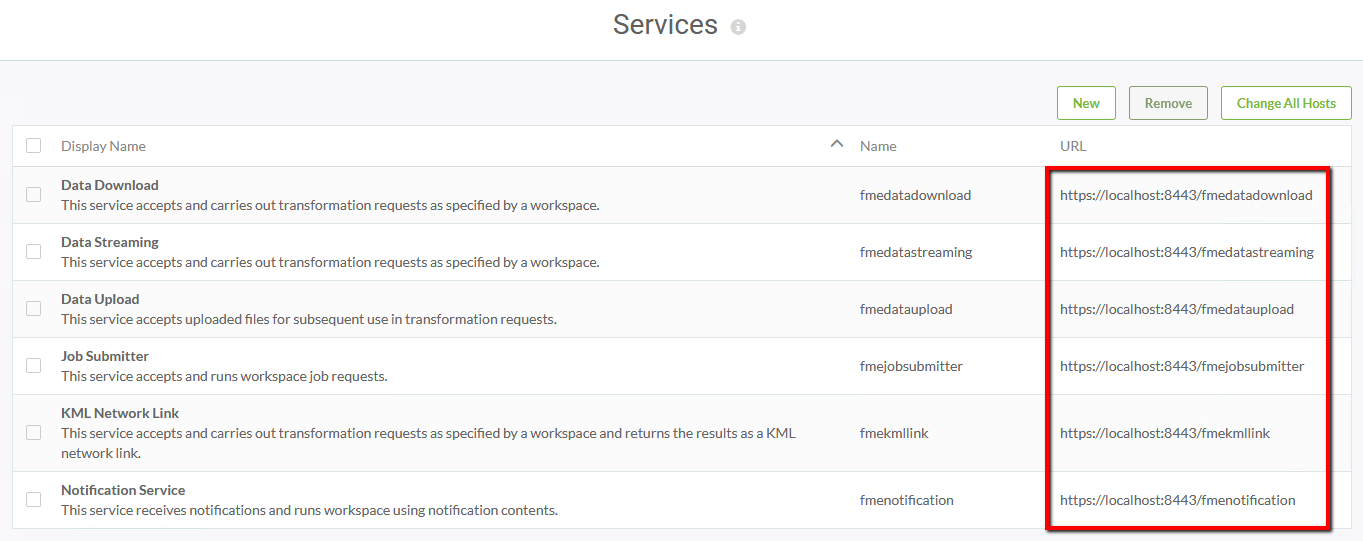
To enable SSL for FME Server Services, login to the FME Server web interface (username and password admin), and select Services on the left sidebar.
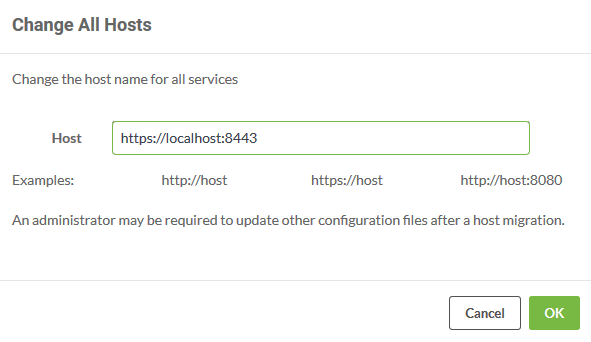
On the Services page, you can update specific services or all services at once. Let's update all services. Click Change All Hosts

The Change All Hosts dialog opens. Make sure Host is set to https://localhost:8443 and click OK.
The URLs will be updated to their new, correct values on the Services page.
| TIP |
| If you are making use of WebSockets with FME Server please review the FME Server Admin Guide and the section titled Enable SSL on the WebSocket Server (Optional) |
| CONGRATULATIONS! |
By completing this exercise you have learned how to:
|