| Exercise 2 | Changing the FME Server Database Provider |
| Data | C:\Program Files\FMEServer\Server\database\sqlserver\sqlserver_createDB.sql
C:\Program Files\FMEServer\Server\database\sqlserver\sqlserver_createUser.sql |
| Overall Goal | Change the database provider for FME Server |
| Demonstrates | Configuring a new SQL Server database |
Your company has an Express Installation of FME Server already installed, but your Database Administrator has just informed you that you that the company will be switching its database providers from the default FME Database to a SQL Server database to allow for more control over database security.
| Miss Vector says... |
| If you have completed the Configuring for HTTPS exercise, remember that the URL to connect to FME Server is now https://localhost:8443/fmeserver and NOT http://localhost/fmeserver! |
1) Backup FME Server
Backing up your current FME Server instance is an important step before performing any post-installation configurations. Once you have changed the database provider, you can restore FME Server configurations all at once instead of having to go through the process of manually changing any settings, republishing workspaces, etc.
Note: If you have already created an FME Server backup you can use this existing .fsconfig file and continue to Step 2.
Open the FME Server web interface, either through the Web Interface option on the Windows Start Menu or directly in your web browser, and log in using the username and password admin.
Find Backup & Restore in the left sidebar, under the Admin heading in the FME Server web interface, and click to expand, then click Backup.
Select Download to save a backup file of FME Server - this can be thought of as a "snapshot." It will take a short time to run processes in the background to compile the FME Server backup, and once this is complete, it will automatically save to your local downloads folder.
| TIP |
| If you have a PostgreSQL installation instead of SQLServer, you can follow the instructions in the Server Administrator 2017 Course. Just note that the path names might have changed slightly from 2017 to 2018. |
2) Initial Database Configuration
For the purposes of this exercise a separate SQL Server database has been installed to the Training Machines.
The two SQL scripts we'll be using for this step and the next (3) can be found at: C:\Program Files\FMEServer\Server\database\sqlserver\
- sqlserver_createDB.sql
- sqlserver_createUser.sql
We need to create the FMESERVER database schema by configuring the local SQL Server database for FME Server. From the Windows Start Menu open Command Prompt.
First, create a new database using the sqlserver_createDB.sql script. You can review the SQL scripts in a text editor if you wish, but it isn't necessary. In the Command Prompt run the following:
sqlcmd -S FMETRAINING -i "C:\Program Files\FMEServer\Server\database\sqlserver\sqlserver_createDB.sql"

The output should look like this now in the Command Prompt window:
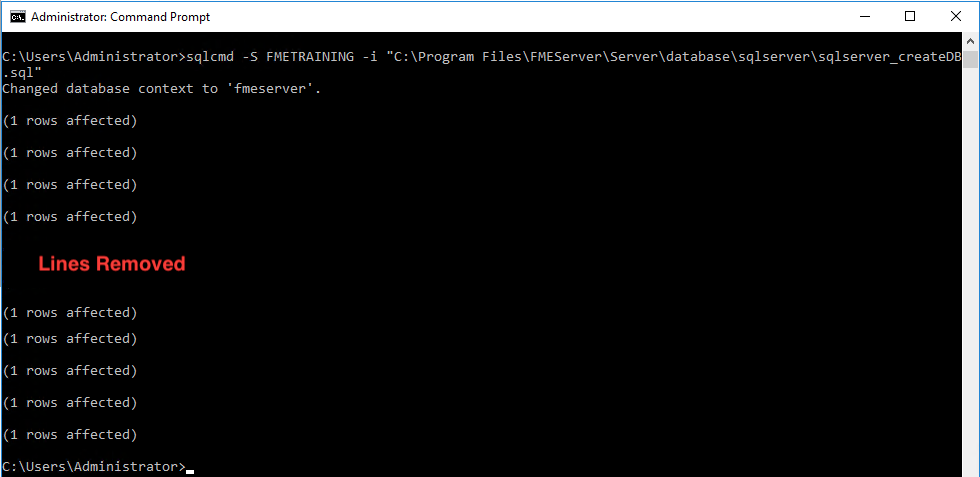
This confirms the new Database "fmeserver" was created. This SQL script creates all FME Server related tables, indexes, views, and triggers.
3) Create the FME Server Database User
Next, we will create the new user fmeserver and grant all necessary permissions to the new user. This SQL script creates a new user fmeserver with password fmeserver. It uses the sqlserver_createUser.sql script.
sqlcmd -S FMETRAINING -i "C:\Program Files\FMEServer\Server\database\sqlserver\sqlserver_createUser.sql"
The new user will be created with the appropriate login and permissions to access the fmeserver database.

Exit the Command Prompt.
5) Configure the Database Connection
Open the fmeCommonConfig.txt file, located in the C:\Program Files\FMEServer\Server\ directory, using a text editor in administrator mode.
Under the heading FME SERVER SETTINGS START, locate the section titled Database Connection. We want to disable the default connection to the Postgres database and instruct FME Server to connect to the SQL Server database.
Comment out the DB_TYPE=postgresql section, by adding a number sign (#) in front of each line and uncomment the DB_TYPE=sqlserver section. The final edits should look at as follows:
#DB_TYPE=postgresql
#DB_DRIVER=org.postgresql.Driver
#DB_JDBC_URL=jdbc:postgresql://localhost:7082/fmeserver
#DB_USERNAME=fmeserver
#DB_PASSWORD=fmeserver
#DB_CONNECT_EXPIRY=60
#DB_SQLSTMTS_PATH=C:/Program Files/FMEServer/Server/database

DB_TYPE=sqlserver
DB_DRIVER=com.microsoft.sqlserver.jdbc.SQLServerDriver
DB_JDBC_URL=jdbc:sqlserver://localhost:1433;databaseName=fmeserver
DB_USERNAME=fmeserver
DB_PASSWORD=$FME$1ser$ver
DB_CONNECT_EXPIRY=60
DB_SQLSTMTS_PATH=C:/Program Files/FMEServer/Server/database
Save and close the fmeCommonConfig.txt file.
6) SQL Server Modifications
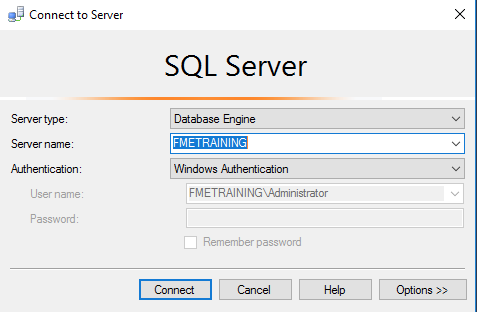
From the Start menu, Open Microsoft SQL Server 2016 > SQL Server Management Studio Accept the default server name FMETRAINING and Windows Authentication and click Connect.
The first step is to set the Database Server to allow for SQL Server Authentication. This will permit the new fmeserver user to connect to the database.
In the Object Explorer tree right-click on the FMETRAINING and select Properties.

In the resulting dialog click on Security and select the SQL Server and Windows Authentication option.

Click OK, acknowledging that SQL Server requires a restart.

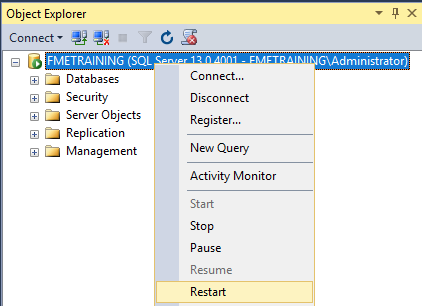
In the Object Explorer tree right-click on the FMETRAINING and select Restart.
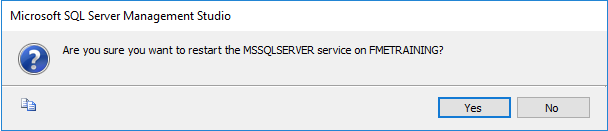
And when prompted click Yes.
Finally, Restart FME Server. From the start menu select FME Server 2018.0.0.3 > Restart FME Server.
6) Post-Configuration Script
Starting in 2018.0 the Post-Configuration scripts are now run by the Core when connecting to a new FME Server System Database. There is one script that still needs to be run (step follows Add Queue). Allow a few minutes for the scripts to run and complete loading the new metadata into the database. Attempting to log in during this time may result in an incomplete Web UI appearing. Wait a few moments and refresh the browser.
Add Job Queue metadata: There is one script that still requires to be run manually (this is resolved in 2018.1).
Open C:\Program Files\FMEServer\Clients\utilities\, and invoke addQueueNode.bat by right-clicking the file and selecting Run as administrator. (only for 2018.0)
This script will take a moment to run and create the default job queue. Next, Restart FME Server. From the start menu select FME Server 2018.0.0.3 > Restart FME Server.
7) Restore Your FME Server Configuration
Since a backup of FME Server was created in Step 1, we can now restore that same FME Server instance which contains all of the previous FME Server configuration settings.
Login to the FME Server web interface and select Backup & Restore > Restore from the left sidebar.
Upload your saved backup configuration file from the beginning of this exercise. Navigate to C:\Users\Administrator\Downloads\ and locate the FME Server backup file (Hint: It has .fsconfig extension!). Drag-and-drop this file onto the FME Server Restore page:

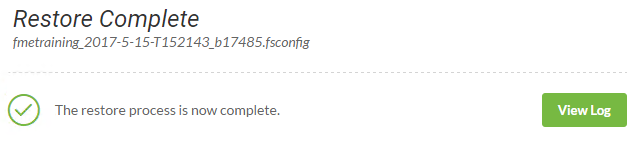
The FME Server web interface will report if the restore is successful. If it is not, the log file is easily accessible from this page if further investigation is needed.
8) Update Service URLs to HTTPS
Finally, since restoring the configuration does not update the service URLs we must redo the step from Chapter 3, Exercise3. The reason the service URLs are not updated when restoring a configuration is that we may be restoring to an entirely different system with different URLs.
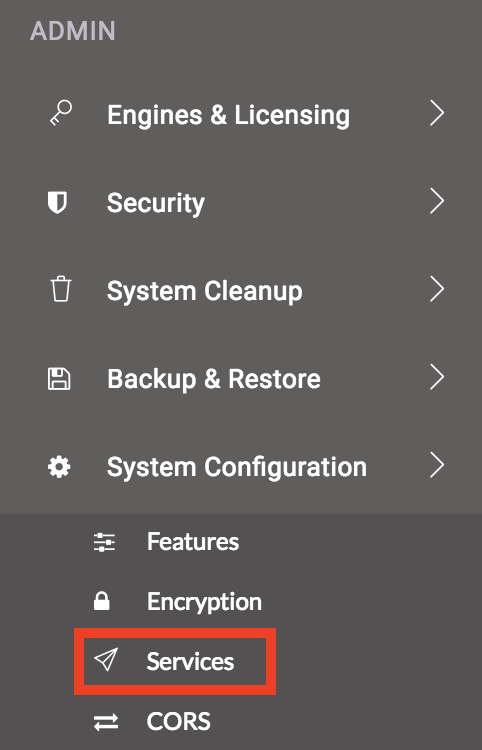
To enable SSL for FME Server Services, login to the FME Server web interface (username and password admin), and select Services on the left sidebar.
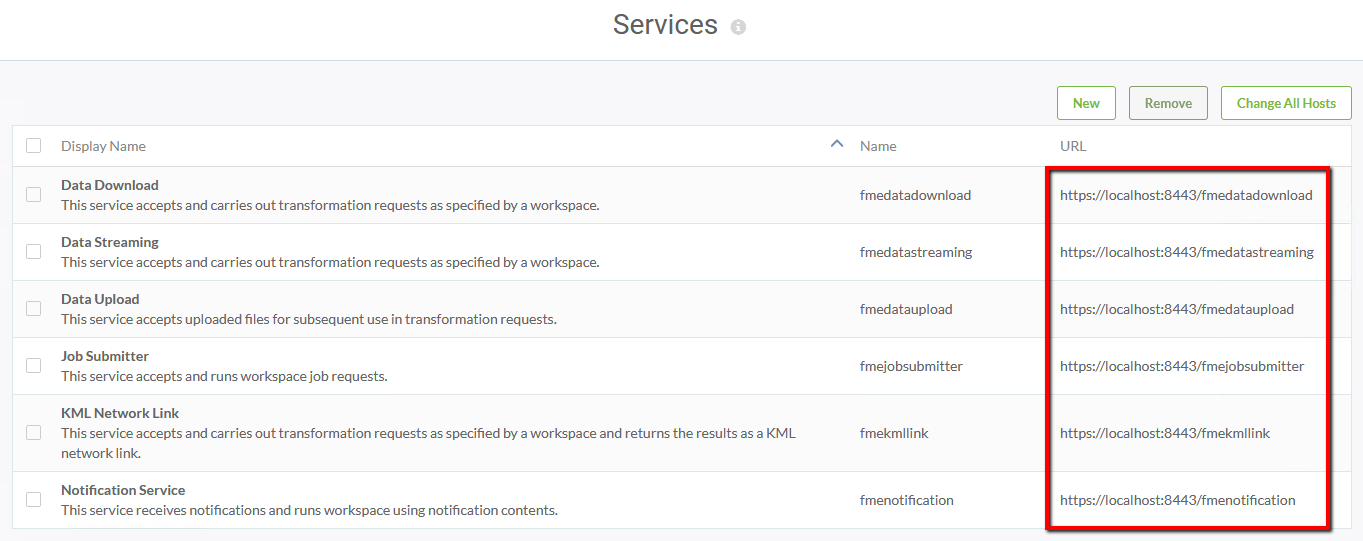
On the Services page, you can update specific services or all services at once. Let's update all services. Click Change All Hosts

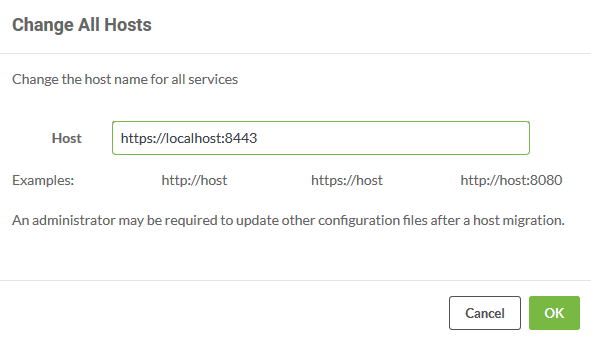
The Change All Hosts dialog opens. Make sure Host is set to https://localhost:8443 and click OK.
The URLs will be updated to their new, correct values on the Services page.
| CONGRATULATIONS! |
By completing this exercise you have learned how to:
|