| Exercise 2.2 | Basic Data Inspection |
| Data | 3-1-1 case location details (XLS hosted on FTP) |
| Overall Goal | Inspect data |
| Demonstrates | Inspect data, including workspace output |
| Start Workspace | None |
| End Workspace | None |
Let’s see how the FME Data Inspector interface works by inspecting the results of the last exercise.
1) Start FME Data Inspector
Start the FME Data Inspector by selecting it from the Windows start menu. You’ll find it under Start > FME Desktop 2018.1 > FME Data Inspector 2018.1.

2) Open Dataset in FME Data Inspector
The FME Data Inspector will start up and begin with an empty view display.
To open a dataset, select File > Open Dataset from the menu bar, click the Open Dataset icon in the toolbar, or use Ctrl + O:

When prompted, fill in the fields in the Select Dataset dialog as follows:
| Reader Format | CSV (Comma Separated Value) |
| Reader Dataset | C:\FMEData2018\Output\Training\CA18COV1 - Service Request Loca.csv |
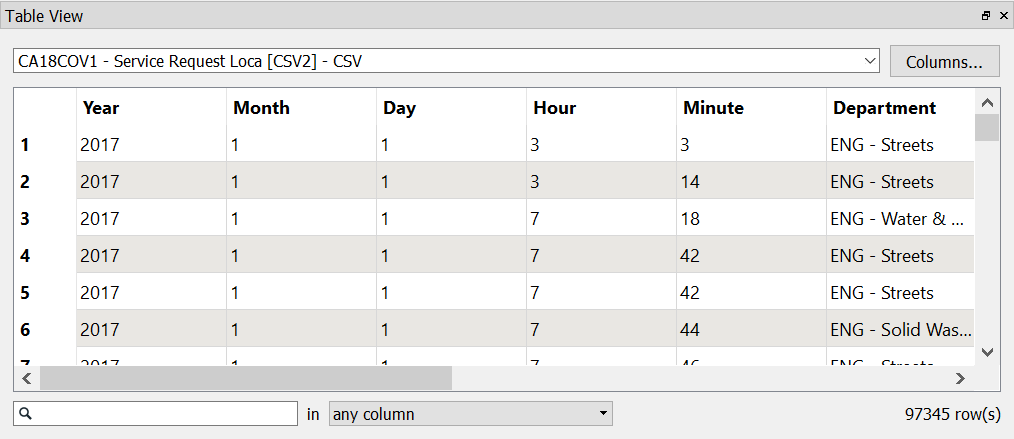
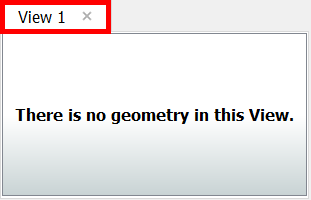
Click OK, and you will see a table appear in the Table View window. The main View will be blank and will say "There is no geometry in this View." The View displays this message because we have loaded data with no geometry. As you will see later, if we load spatial data like a map layer, CAD drawing, or 3D model, it will be displayed here. If you scroll through the Table View, you can see the different values of the 3-1-1 request attributes:
3) Add Dataset in FME Data Inspector
Using Open Dataset always displays the data in a new view in Data Inspector, shown in a tabbed interface above the View window:
You can also add another dataset to the open view. Let's try out this feature by adding a dataset we'll be using in a later unit: local planning areas. This dataset is a KML file of Vancouver's local planning areas, which are designated by the city for purposes of planning and development. It contains their geometry, i.e., the areas they cover, and attributes about them, e.g., their names.
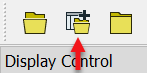
To add a dataset to an open view, select File > Add Dataset from the menu bar, click the Add Dataset button on the toolbar, or use Ctrl + D:
When prompted, fill in the fields in the Select Dataset to Add dialog as follows:
| Reader Format | Google KML |
| Reader Dataset | C:\FMEData2018\Data\Boundaries\LocalAreas.kml |
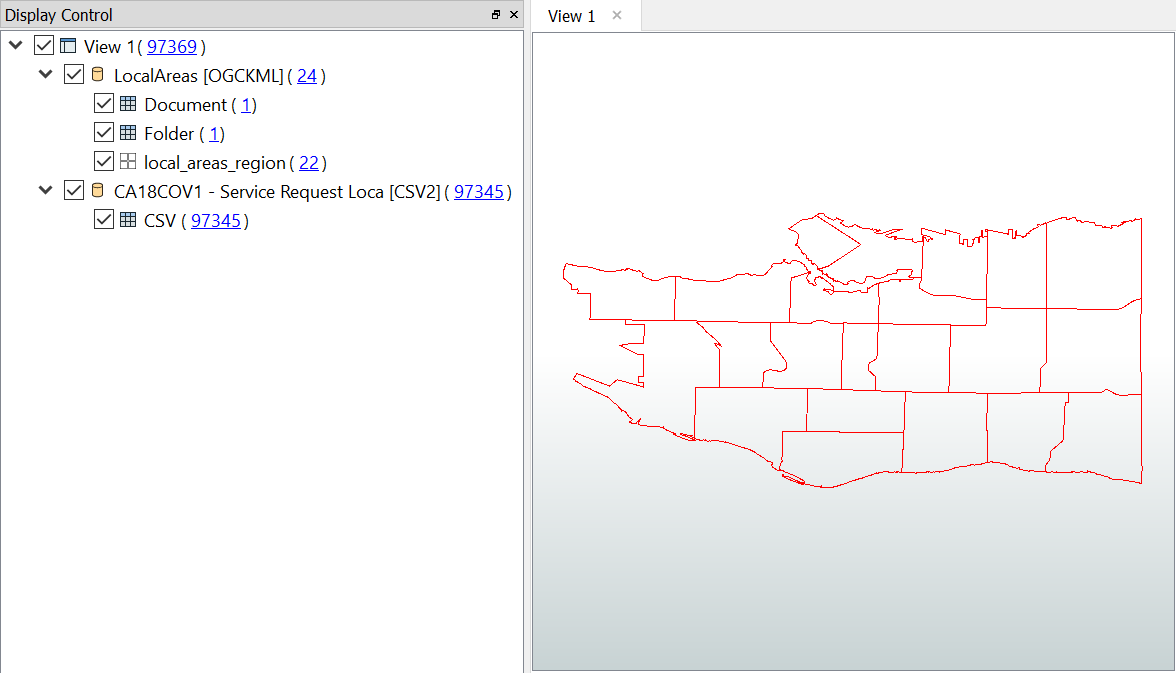
Click OK, and you will see a new feature type appear in the Display Control window. Additionally, you will see the local areas appear in the View window:
4) Add a Background Map
The local areas currently appear without any context. Let's improve the display by adding a background map. Select Tools > FME Options > Background Map (or on Mac, FME Data Inspector > Preferences > Background Map). Click the drop-down next to Background Format:
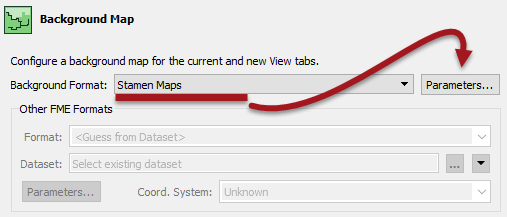
You will notice that FME supports a variety of background map services. Most require an existing account or server, but for this example let's select Stamen Maps, which we can use without an account.
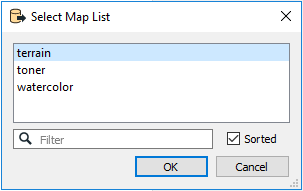
After selecting Stamen Maps, click Parameters. Click the ellipsis button to retrieve the list of background map styles available. Select terrain and click OK:
Click OK twice to close the FME Options windows. You should see the background map appear shortly:
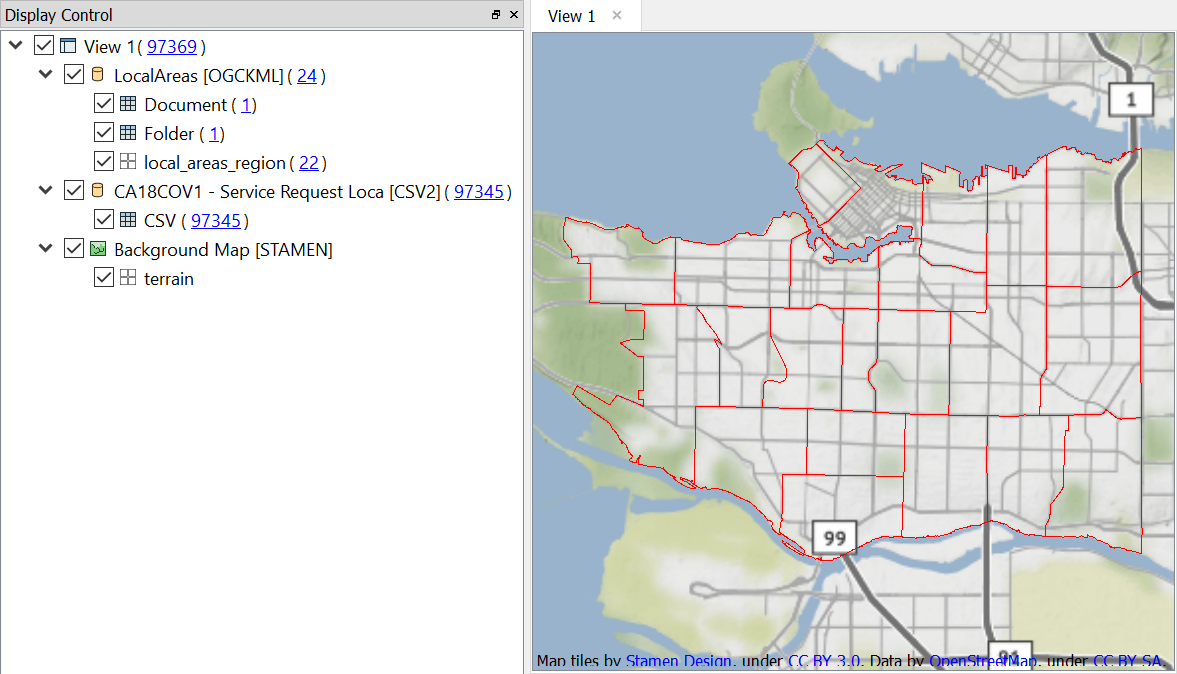
You can use the pan and zoom tools in the Toolbar to move the view around the map:

| CONGRATULATIONS |
By completing this exercise, you have learned how to:
|