| Exercise 3 | Authorization and the REST API |
| Data | None |
| Overall Goal | To show how to properly authorize a call in the REST API |
| Demonstrates | The info call |
This shows how to create an authorized call in the FME Server REST API. Authorization is an essential component in the REST API. Most calls do require authorization as a way to verify that the user may access information from the server. Authorization in the FME Server REST API is handled with tokens. This will be demonstrated and further explained below.
1) Create the Call Below
| GET | http://<yourServerHost>/fmerest/v3/info |
|---|
Copy and Paste this URL into the Toolbar in Postman and then click send!
This call will require a token. This next part of the demonstration will show you what happens when you make an unauthorized call to the server.

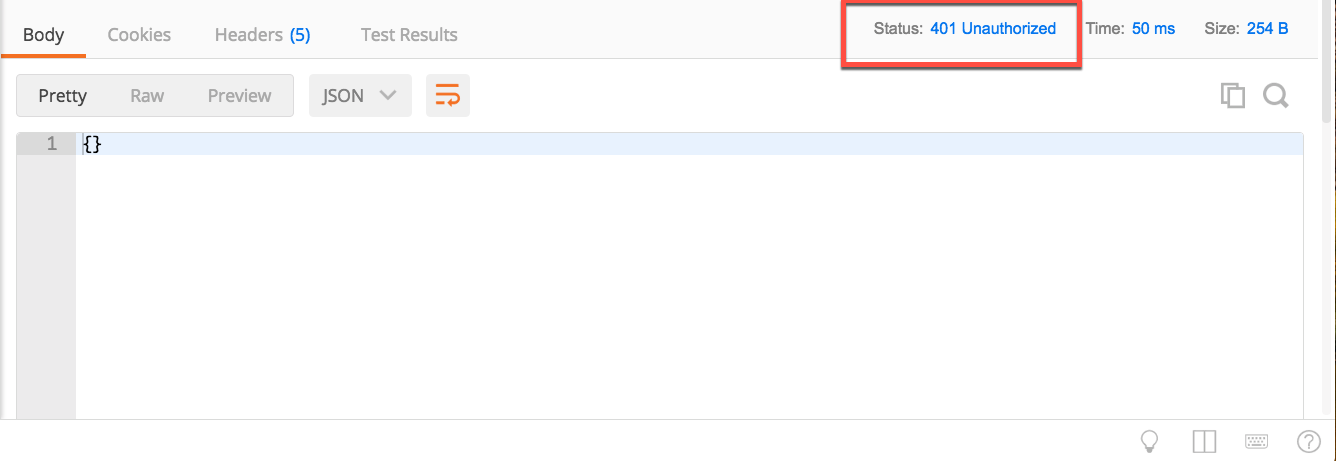
You should receive a message that says 401 Unauthorized. This is because we have not used a token to authorize the call. The next part of the guide will go over how to make a request on the server using a token.
2) Get A Token
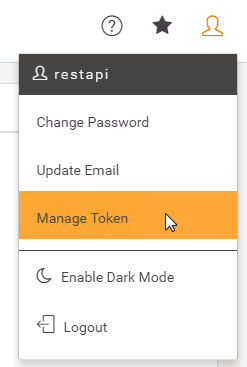
There are many ways to get a token in the FME Server. The first way is to go to FME Server web interface. The right-hand corner features a user symbol. That's the user settings, then go to manage token.

Another way to get a token is by visiting,
http://<yourServerHost>/fmetoken.
3) Use the Token in a Call
Now that we have a token we may use it in the request. Next to "GET" paste the following URL into Postman. Replace "yourTOKEN" with the token you have received from the server.
| GET | http://<yourServerHost>/fmerest/v3/info?fmetoken=<yourTOKEN> |
|---|
You should receive the 200 response code from the FME Server. Please note, this is not the preferred method of authorization. By putting the token into the URL it is visible and will be less secure.
4) Use the Token in a Call Using the Preferred Method
The preferred method is to use the Authorization Header. To find where to place the Authorization Header, look underneath to the URL find the Headers section. In here, under key write Authorization. Then set the value to fmetoken token=your token. The URL should be
| GET | http://<yourServerHost>/fmerest/v3/info |
|---|
Now try running the call by clicking the Send button.

5) Review the Response
Once you click Send, you will see this response in Postman. This call returns the build and version.

In this section, we went through the basics of making an authorized call to the FME Server.
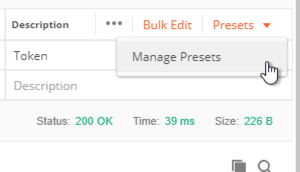
6) Access the Presets section to add a preset
On the right-hand side of the screen, there is a section to create a Preset. Presets allow a user to save this authorization information for the future.

7) Create a new preset
Click add to add the preset.

Fill in the values to create the new preset:
- Header Preset Name: Token
- Key: Authorization
- Value: fmetoken token= YourToken
- Description: Token Expires

To use this Header Preset in future calls simply type token in the key section and select the preset. Then your header will automatically fill with the preset.
Other Authorization Option
You may also use the standard authorization within Postman. However, this course will use the token in the header.
| CONGRATULATIONS |
By completing this exercise you have learned how to:
|