| Exercise 1 | Basic Workspace Creation |
| Data | Zoning Data (MapInfo TAB) |
| Overall Goal | Create a workspace to translate zoning data in MapInfo TAB format to AutoCAD DWG |
| Demonstrates | Basic workspace creation with FME Workbench |
| Start Workspace | None |
| End Workspace | C:\FMEData2017\Workspaces\DesktopBasic\Basics-Ex1-Complete.fmw |
Congratulations! You have just landed a job as technical analyst in the GIS department of your local city. Your old schoolteacher, Miss Vector, gave you a reference, so don't let her down!
On your first day you've been asked to do a simple file format translation.
We’ve outlined all of the actions you need to take; though FME's interface is so intuitive you should be able to carry out the exercise without the need for these step-by-step instructions.
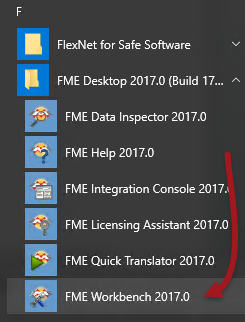
1) Start FME Workbench
Start FME Workbench by selecting it from the Windows start menu. You’ll find it under Start > All Programs > FME Desktop 2017.0 > FME Workbench 2017.0.
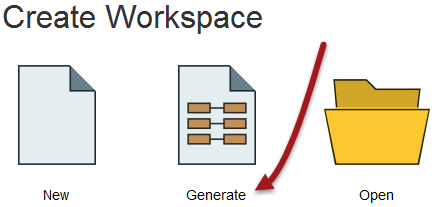
2) Select Generate Workspace
FME Workbench will start up and begin with the Start tab active. In the Create Workspace part of the Start tab, select the option to Generate (Workspace). Alternatively you can use the shortcut Ctrl+G.
3) Define Translation
The Generate Workspace tool opens up a dialog in which to define the translation to be carried out. Fill in the fields in this dialog as follows:
| Reader Format | MapInfo TAB (MITAB) |
| Reader Dataset | C:\FMEData2017\Data\Zoning\Zones.tab |
| Writer Format | Autodesk AutoCAD DWG/DXF |
| Writer Dataset | C:\FMEData2017\Output\Training\Zones.dwg |
The dialog will look like this:
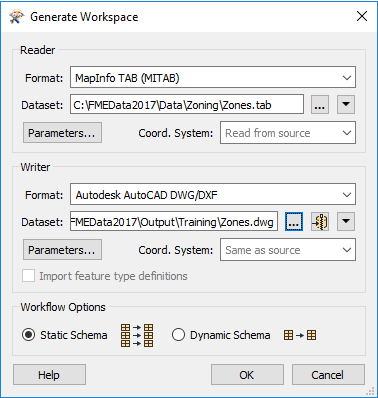
Remember, you can set a format by typing its name, by selecting it from the drop- down list, or by choosing “More Formats” and selecting the format from the full table of formats. For now, ignore the Workflow Options and leave the default of 'Static Schema.'
4) Generate and Examine Workspace
Click OK to close the Generate Workspace dialog. A new workspace will be generated into the FME Workbench canvas:

The list of attributes is exposed by clicking the arrow icon on each object.
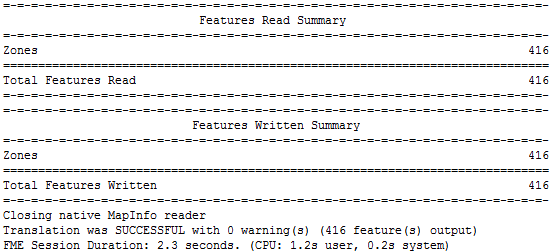
5) Run Workspace
Run the workspace by clicking the run button on the toolbar, or by using Run > Run Translation on the menubar. The translation will run and the log file reports something like this:
6) Locate Output
Locate the destination data in Windows Explorer to prove that it's been written as expected. In the next section we’ll cover how to inspect the dataset to ensure that it is correct.

| TIP |
|
When a translation is run immediately in Workbench or Quick Translator, without further adjustment, it's known as a 'Quick Translation.'
Because FME is a 'semantic' translator, with an enhanced data model, the output from a quick translation is as close to the source data in structure and meaning as possible, given the capabilities of the destination format. |
| CONGRATULATIONS |
By completing this exercise you have learned how to:
|